Vengeance Gambit Prelude – Supply Run
Originally played at Southern Exposure (Cherry Hill, New Jersey) in 2006. Scenario and miniatures provided by Catalyst Demo Team Agent Jim “Ratboy” Williamson. Visit his website at Time Warp Comics and Games or find your own local Demo Team Agent at Catalyst Demos.
This blast from the past is from a forum post I made back in the day. Unfortunately, all of the pictures were on a different web server than the ScrapYard is on now. Luckily I had a back-up on an old hard drive. I had to do some searching to find it though. I was getting worried this AAR wouldn’t see the light of day again.
Vengeance Gambit
The Third Battle for New Avalon Prelude – Supply RunMechwarrior Malton sat in his ‘Mech, deftly piloting his Osiris through the broken countryside outside New Avalon. He wished he were somewhere else. He wished he could be on the ‘real’ front line defending his home from those Blakist scum. What’s left of his home anyways. A lot of things changed when the Jihad began.
His patrol was constantly running afoul of enemy signatures. More than half of them turned out to be false. Electronic interference was running high. That’s too bad. He wanted every opportunity to bring his lasers to bear on some of those bastards!
Static broke the relative silence of his cockpit as his command chimed in over an encrypted channel.
“This is HQ to any available units in Gamma Sector. Over”
Malton was quick to reply. “HQ this is attack lance zero-nine, got any Blakists we can kill?”
“I just might. We’ve been getting so many false signatures these days it’s hard to be sure. Anyways, there is a cluster of readings due east of your position. Together with some intel we’ve gathered from Blakist transmissions, we think we may have a chance to intercept something important.”
“What do you mean ‘important’?”
“Your guess is as good as mine. Your lance will have to check it out. If you see anything down there resembling a transport, you better be damn sure it doesn’t get to the city… for all our sakes.”
“My pleasure.” Malton finished as he coaxed his 30 ton ‘Mech to a full sprint. His lance mates followed his lead. Any day he could kill Blakists was indeed a good day to be alive in New Avalon.
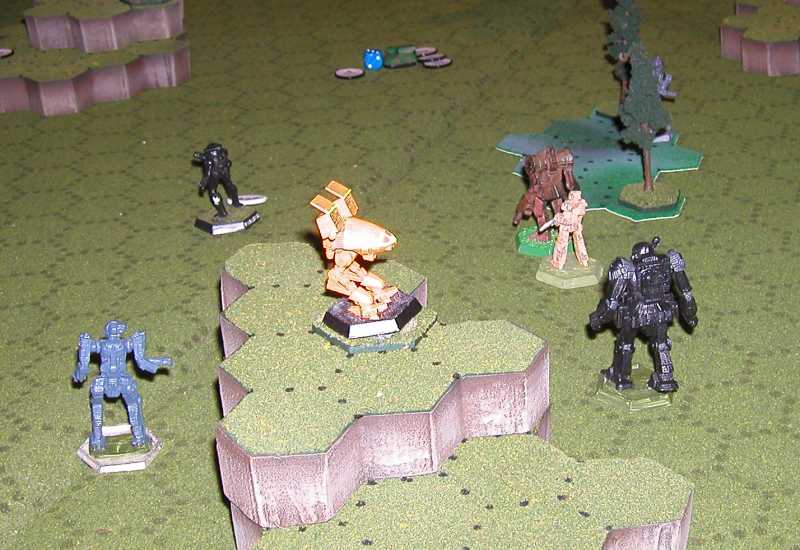
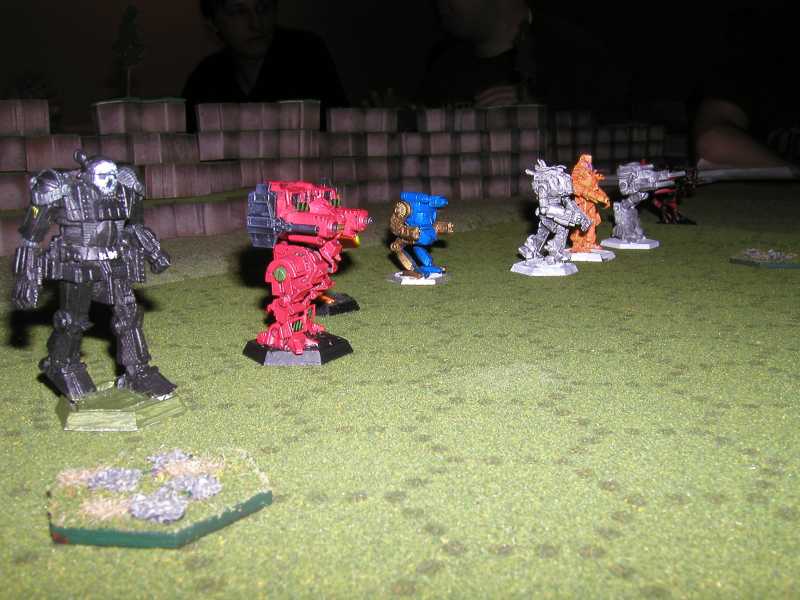
Word of Blake
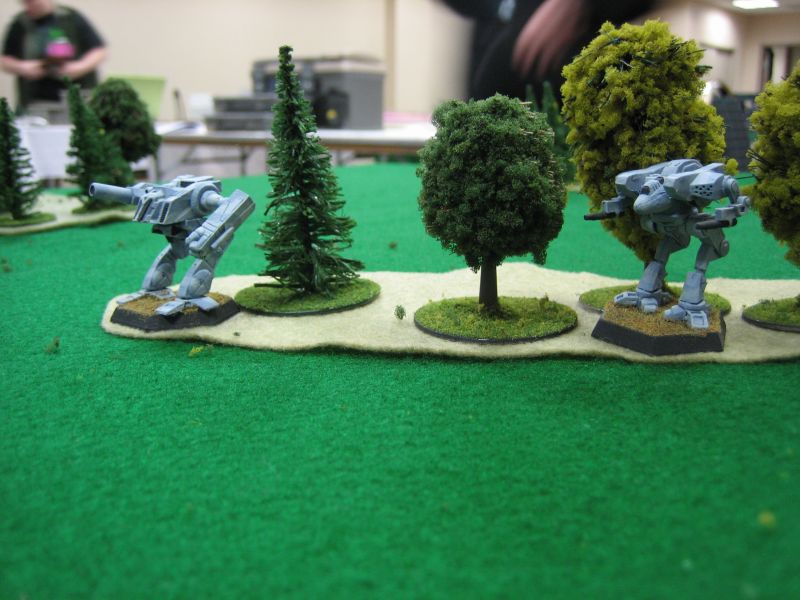
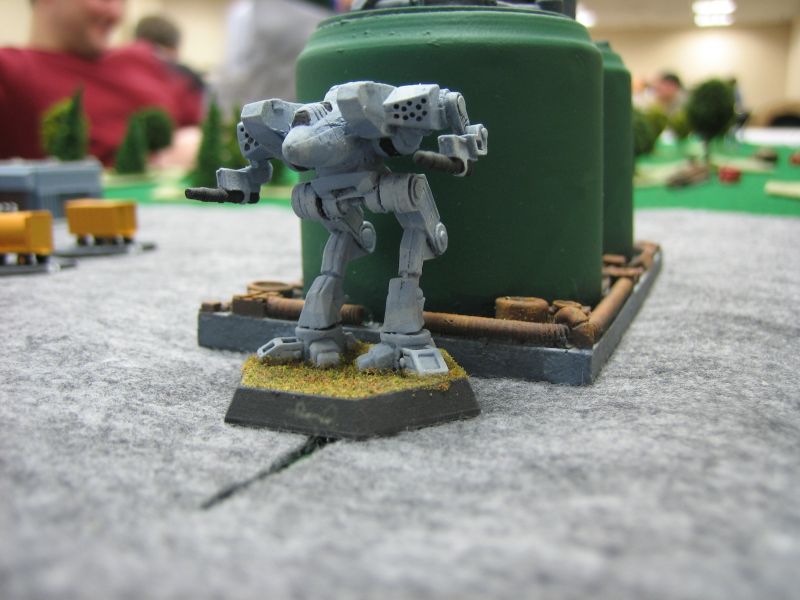
- Locust
- Fire Starter
- Falcon Hawk
- Stinger
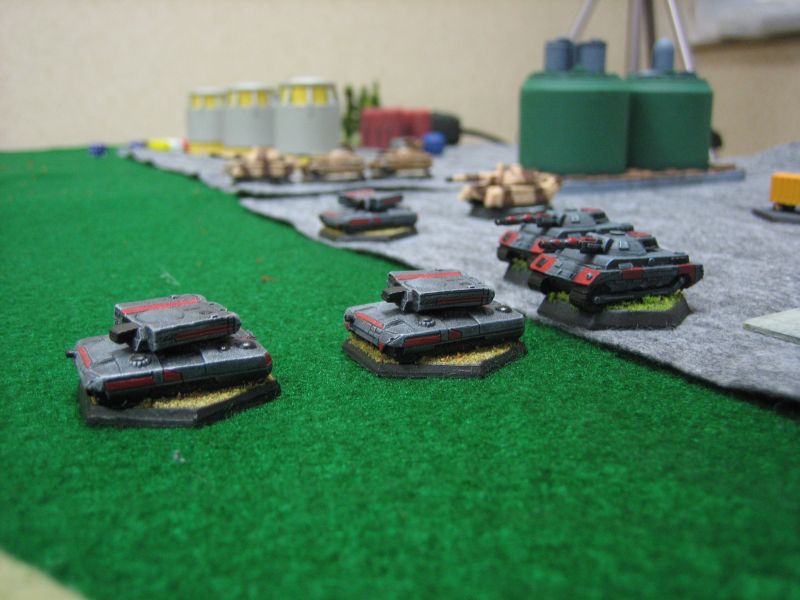
- Tracked Heavy Transports x 4
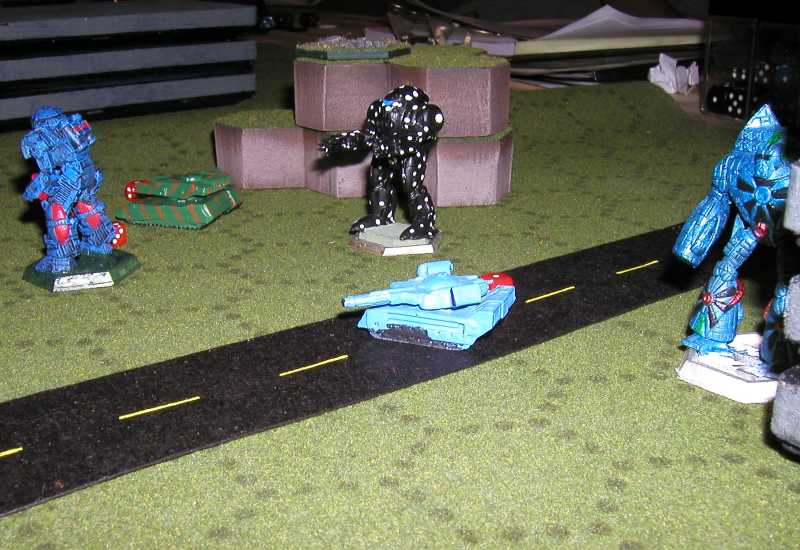
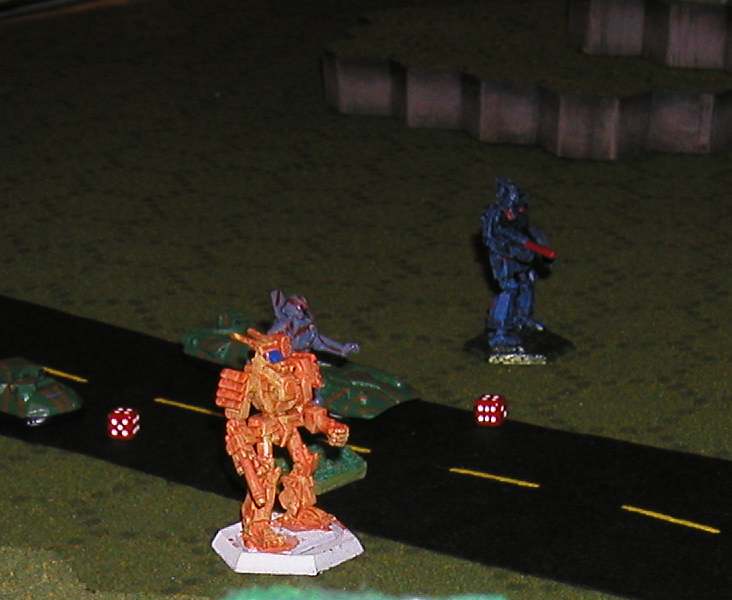
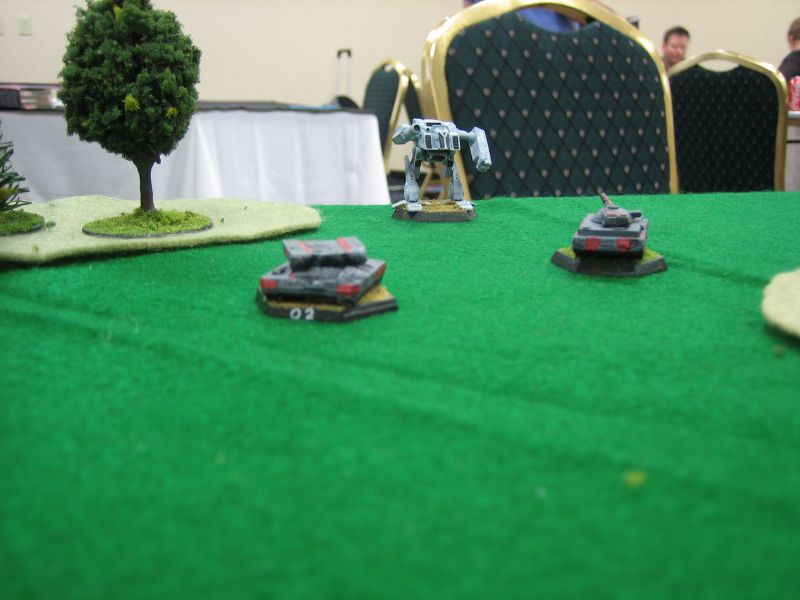
Federated Suns
- Osirus
- Argus
- Valkyrie
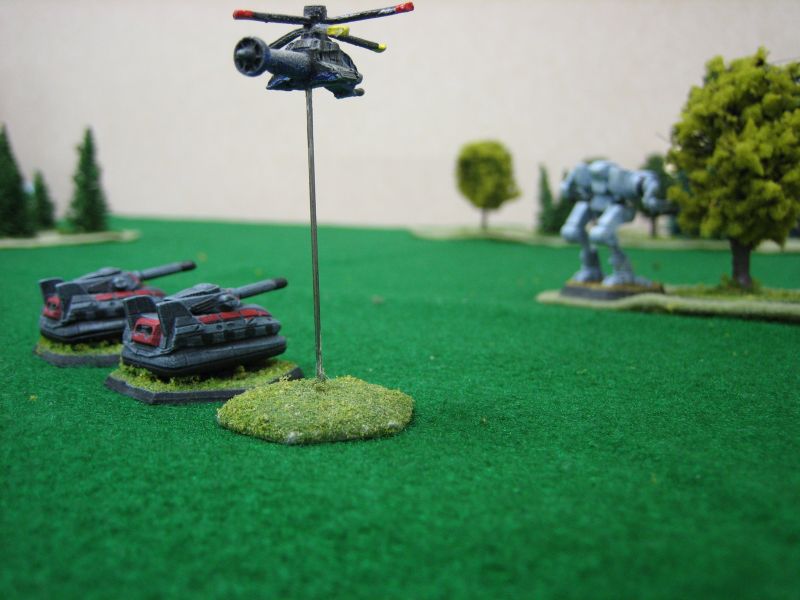
- Warrior H-8 VTOLS x 2
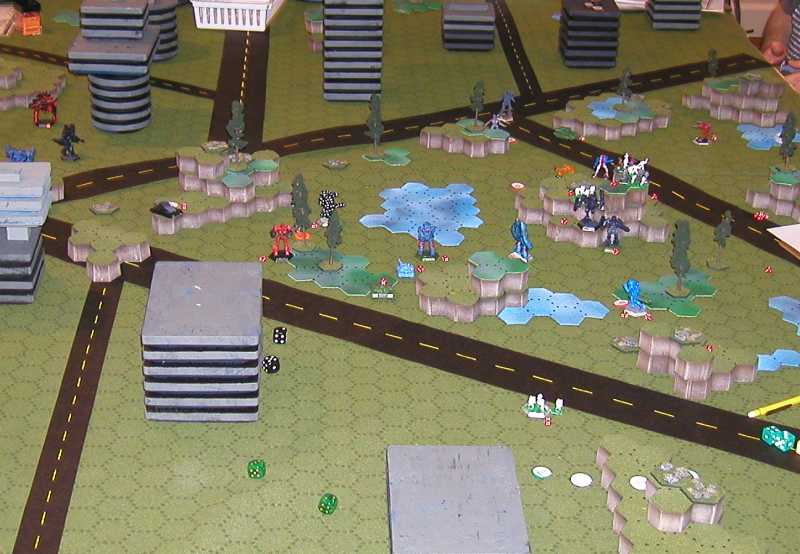
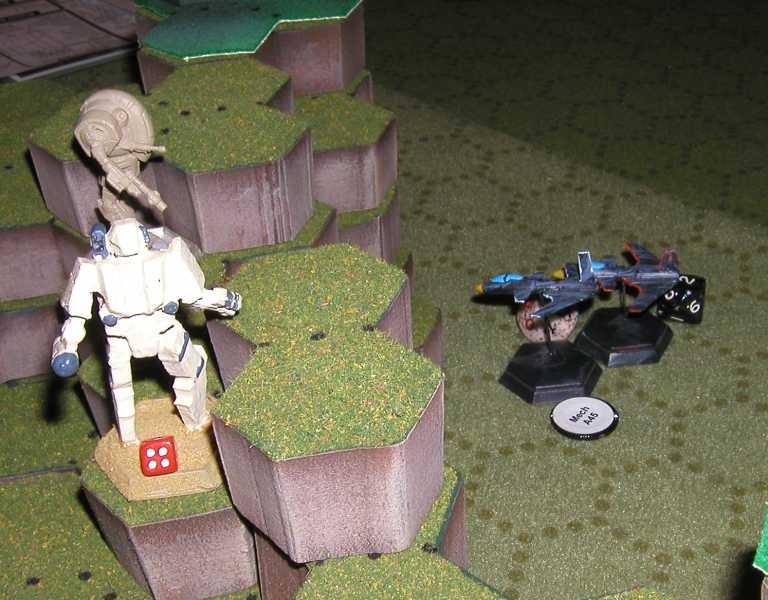
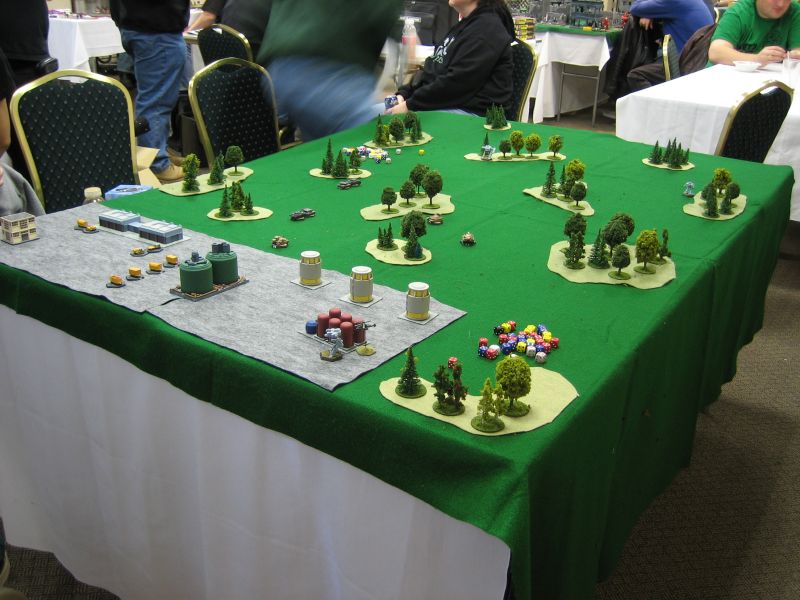
Turn 1

Both forces advance towards each other. The WoB forces concentrate the transports to the south, hoping to shoot across the board to complete their objective. Weapons fire is ineffective during the beginning part of the battle.
Turn 2

The Osiris gives up his rear in order to get the best shot possible on the transports. The Locust make him pay with a rear center torso critical hit to the engine. The Davions open fire almost exclusively on the transports while the WoB ‘Mechs pepper them with laser and missile fire.
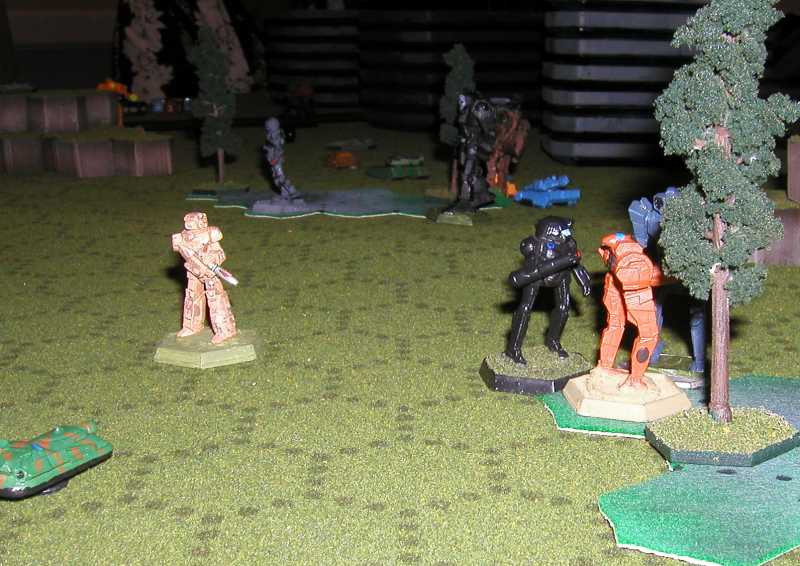
Turn 3

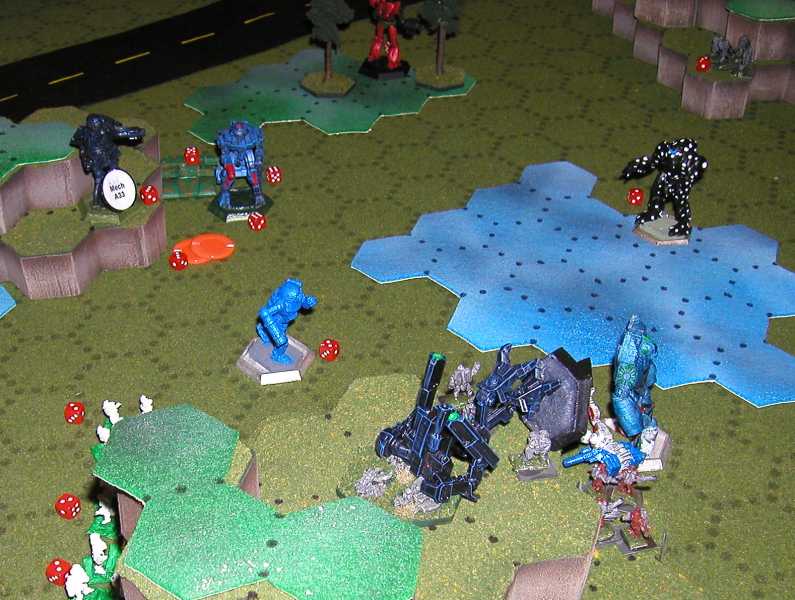
The Argus and Valkyrie stand their ground and pound away at the fragile transports. One of the lead carriers explodes from the concentrated laser fire and autocannon rounds. The Osiris lags behind after finding his heat issues compounded by the previous engine hit. The Valkyrie gets hit in the head with a Large Laser from the FireStarter. The pilot is dazed but remains conscious to fight.


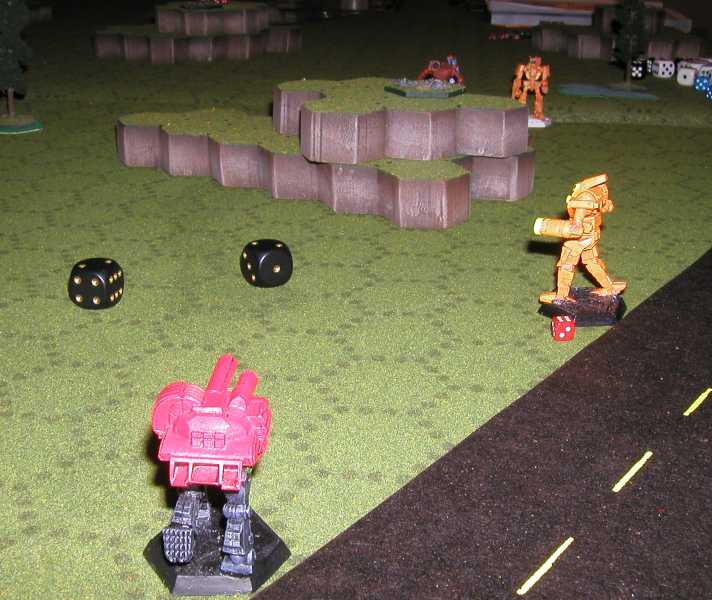
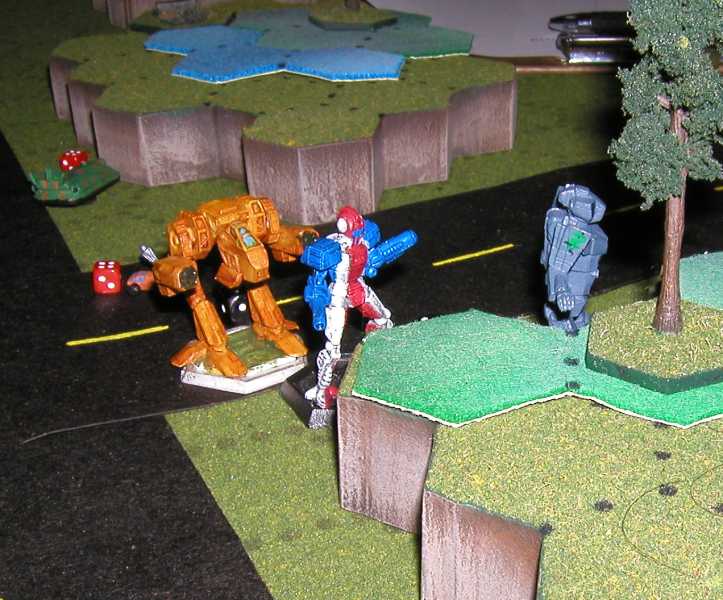
Turn 4

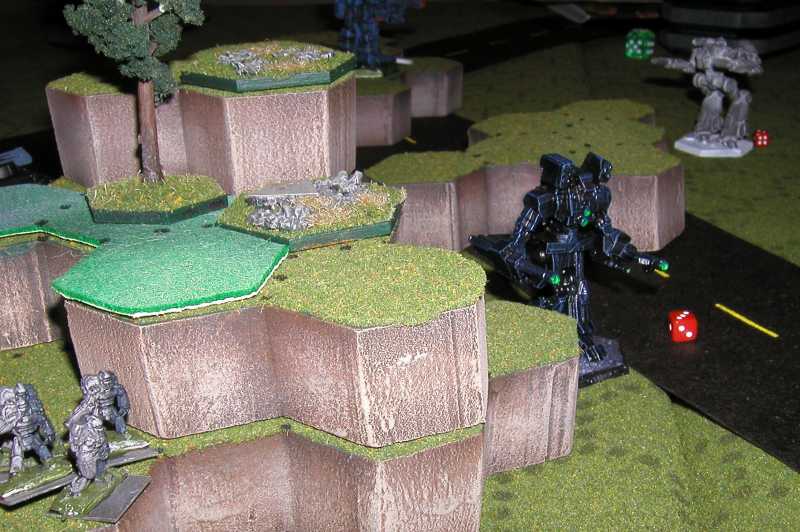
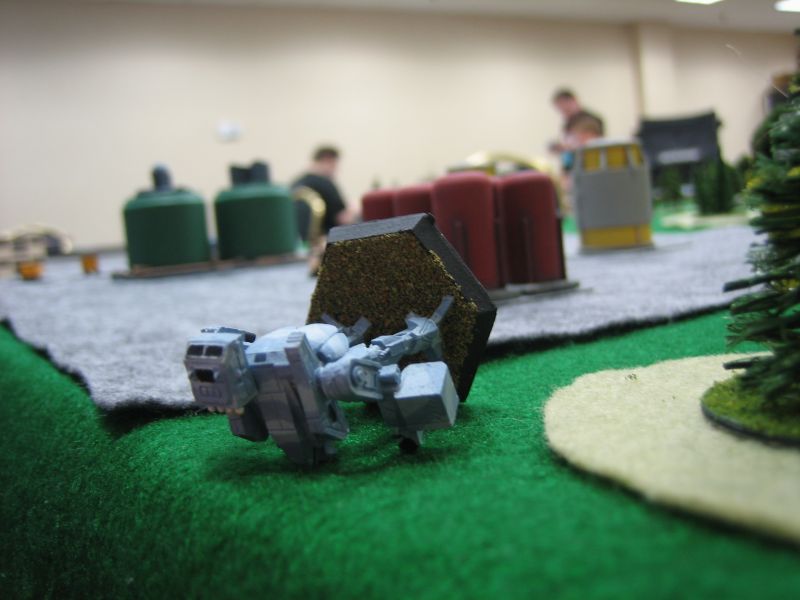
The Davions realize that the transports pack a little bite! All eight machine guns find their target on the Argus. The Argus returns in kind with three RAC 5 shells pummeling the transports. The Locust kicks the Osiris from behind causing the ‘Mech to fall. The pilot was so dazed from the fall that he barely remained conscious.


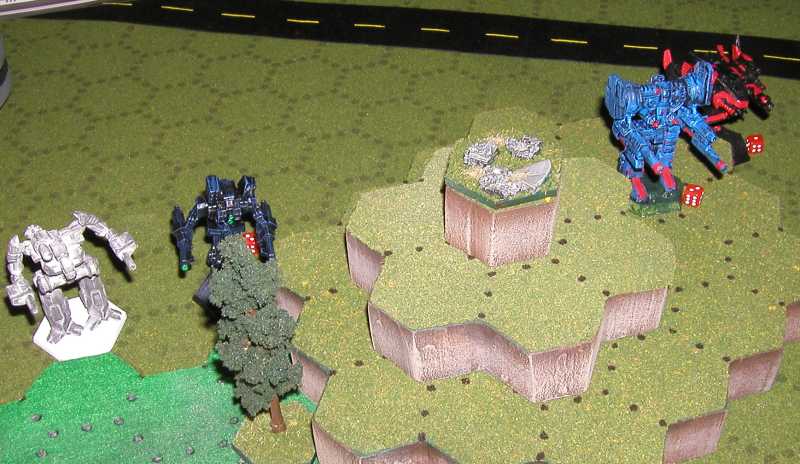
Turn 5

The second transport is laid to waste by Davion combined firepower. The WoB forces rip into the Valkyrie, punching through its armor and inflicting no less than three critical hits inside its side torso. Miraculously, they all miss the dangerous ammo bins inside. A third transport is destroyed by another volley of RAC 5 shells. The physical attacks from the opposing forces get deadly in this turn. The Firestarter kicks the Valkyrie forcing a fall while the Argus kicks the Stingers leg clean off.

Turn 6

The Stinger props and shoots to the best of its ability. The last transport is suffering from major motive system damage and can only crawl towards the objective point so far away. The Argus finishes it off with one last volley of autocannon fire, crushing the WoBs last hope for delivering their cargo.