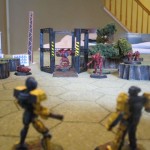
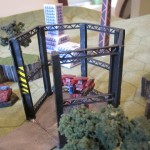
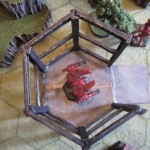
Mech Repair Bay by Iron Wind Metals
Fresh from GenCon I brought home a copy of the new and as of yet limited release Iron Wind Metals ‘Mech Repair Bay. Sold in a clamshell package it costs a mere $25. A steal for such a large terrain piece. As of the writing of this article I have not heard word that this piece is available for sale. I will update this post when I receive confirmation from the folks at IWM. I’m aware that they had some mold issues and the few that made it to GenCon were lucky to have been available at all.
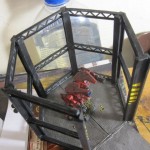
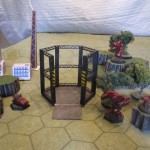
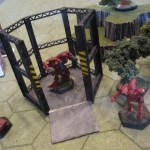
I took my sweet time before putting the whole thing together and slapping a quick paint job on it but I am very happy with the result and am looking forward to using it as an objective in a future game.
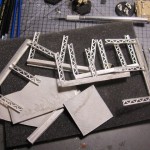
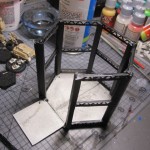
Inside the package you will find a three part base, 5 full struts, and one strut support.
A small hand sketched instruction sheet shows how it all fits together which took a bit of staring at for me to really get it and be able to dry fit everything in place. From here on out there is a lot of sanding and filing. The good news is that while the mold lines are prominent they are very obvious and are easy to get to. You won’t be worrying about filing away fine detail while you are preparing to paint. More on this later on.
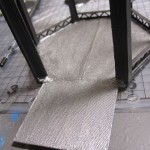
For the base, I used a two part 5 minute epoxy to join the two halves and the ramp. I made sure to be careful to use just enough epoxy to get the job done while holding the platform against a flat surface during curing. I was afraid that the plates would find themselves stuck to my desk but I kept the base moving around just enough to make sure they behaved. Same process with the ramp which was more forgiving due to a small shelf built in to connect it to the rest fo the base.
Preparing the Struts
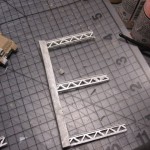
For a while I was painstakingly filing away on the struts to remove mold lines on the flats of the support beams. Normally I wouldn’t use a dremel tool on a miniature but in this case where we have large flat surfaces to prep, the tool seems to be the perfect choice. With my dremel in hand I was able to clean up all of the beams in less than 10 minutes.
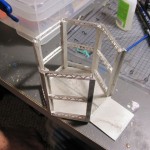
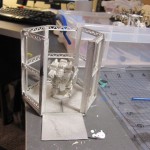
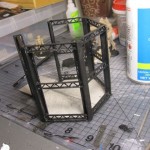
After these were finished up I dry fit the whole thing together Even without glue the struts support and balance on each other so you can see how it is going to come together. It does take some patience though as the completed bay is a bit like a house of cards. The first strut to be moved out of balance will cause the whole thing to crash down.
Some of the struts I had to bend slightly to make them fit. Out of the box some of them were slightly out of true.
Gluing the Struts
For the struts I used some standard gap filling CA glue (Zap a Gap Medium). This is some tricky business to get the whole thing up but take your time dry-fitting and it will work out fine.
Base Coat
The struts and supports got based in flat Black while the floor got a healthy coat of GunMetal. The struts took a bit of time to get done since I was using a brush to try to get into all of the nooks and crannies. In hind sight the right way to do this would have been to spray paint the struts BEFORE gluing them together. That way you would be assured that you get even and complete coverage and would also would take less time.
Wash
The floor of the ‘Mech Bay was washed in a black ink solution with Future floor finish. This darkened the floor giving it a dirtier appearance.
Details
Details are always important and I knew I had to do something to help this terrain piece pop. It is a bit bland in two tone color even after a wash.
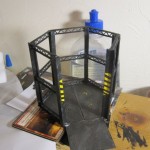
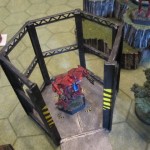
The struts and supports got a light dry-brushing of GunMetal to help pick them out. I added small warning strip box corners on the floor and did some additional ‘Mech height stripes in the outside facing supports. For the yellow I used Plague Brown as a base coat and then Sun Yellow on top. Using the brown base coat is critical to making the yellow look… well… yellow.
Not much else I could think to add without running to my electronics box (wouldn’t it be cool to add some LEDs?). Maybe later I think. For the time being, this works for me and seems just enough to make it battlefield ready.
The Final Result
Posted under Terrain