ScrapYard Armory

A BattleTech weblog

Archive for April, 2011

Apr-29-2011

Bad Intel

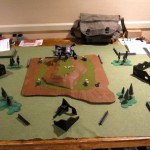
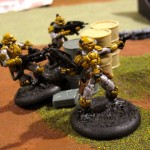
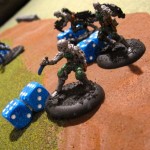
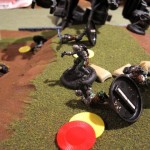
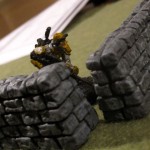
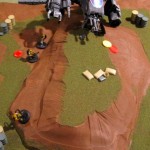
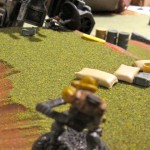
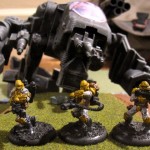
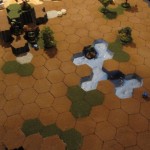
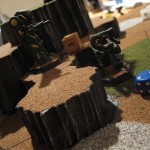
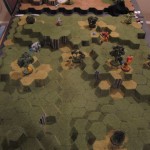
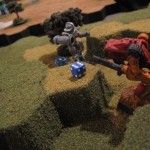
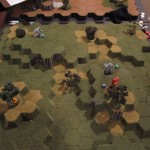
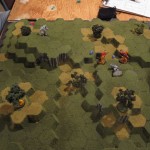
This BattleTech infantry skirmish game was played at HMGS Cold Wars 2010 using the A Time of War combat ruleset.  Thanks go to Demo Agent “Speck” for allowing the ScrapYard to host the game and to the participants for giving the game a try.

The battle proved extraordinarily fast as the players wasted no time getting right to the business of shooting each other to bits.  Read on to see how it all went down!  Please keep in mind while reading that this game featured modifications to the core rules that are documented in an earlier post.  Miniatures for the game are from the MERCS line of dynamic gaming miniatures.

Bad Intel

The company spooks have dug up verifiable information on a potential Star League era weapons depot.  The location is too fragile to risk sending in ‘Mechs to clear it so it is up to the infantry to sniff out the prize and secure it for evac.  Bad news is, the enemy knows as much as we do and are sending in their own forces.  Lock and Load in this ‘A Time of War’ Infantry Combat Scenario to claim the objective before your opponent!

Objectives

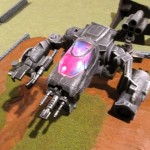
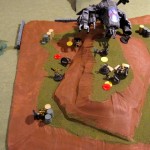
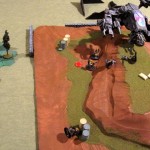
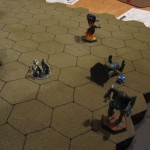
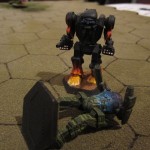
In the middle of the battlefield is a downed BSW-X1 Bushwacker.  A data package has been left behind that holds the coordinates to a potential weapons depot.  That data must not fall into the hands of the enemy.

Downloading the data package is accomplished by moving a character into base contact with the side of the downed ‘Mech near the cockpit.  The download occurs automatically at the end of the turn.  After downloading, the data must be exited off your own team’s map edge.

Liao Assault Squad

  • Squad Leader, Auto Rifle and Vibro-blade
  • Sniper, Minolta 9000
  • Soldier, Imperator SMG x2
  • Heavy Weapons, Dual wielding SMGs

Davion Assault Squad

  • Squad Leader, Auto Rifle
  • Sniper, Minolta 9000
  • Soldier, Imperator SMG
  • Heavy Weapons, Federated Barrett
  • Heavy Weapons, Man-pack Flamer

Turn 1

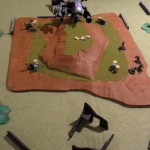
The first turn sees all characters sprint their full distance towards the middle of the battle.  Opposing snipers take up positions on opposite corners.  Each has a good vantage point of the hill and cover.

The Davions send their MG Heavy Weapons to the south and load the north end with their remaining characters.

The Capellans stay tightly grouped in the middle with the hill in easy reach.

Turn 2

The Davions roll high initiative and elect to put their MG Heavy Weapons on overwatch while prepping grenades with all other characters besides the Sniper.

The Liao player rushes the hill with everything he has.  There is no cover.  The rolls are quite low and the effects are devastating.

A Liao Soldier is first up the hill but gets interrupted by the Davion Heavy Weapons.  However the Capellan rolls a higher reflex check and acts first anyways.  He shoots at the Davion Flamer and misses.  Return fire from the MG Heavy Weapons hits hard knocking the Capellan down and causing a bleeding wound.

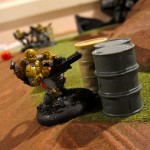
The Liao Heavy Weapons is next and fires on the Davion Flamer hitting twice.  The Flamer takes big damage but shakes it off with his Pain Resistance trait and ignores the stun effect.

The Squad Leader moves up and shoots at the Davion Soldier and hits solidly causing a stun and bleed.

The Davion Sniper is next to act and puts a bead on the Liao Squad Leader and hits causing a stun.  He then turns his scope to the Heavy Weapons beside the Leader and fires off another round causing damage but no stun due to Pain Resistance.

The Liao Sniper forgoes the relative safety of long range and sprints towards the objective arriving just out of reach.

The Liao Soldier is last to act and he rushes the hill along with his comrades firing on the Davion Soldier for a hit.  The Soldier is knocked down but avoids a bleed effect.

There are several downed characters who are stunned, bleeding or both!  A violent and fast round of combat.

Turn 3

Both Squad Leaders are first to act.  The Liao Leader fires on and hits the Davion Flamer after shaking a stun.  The Davion Leader walks forward and throws his prepared grenade.  The blast kills one of the Capellan Soldiers and causes both a stun and bleed effect on the other.  The Liao Heavy Weapons takes further damage but is ok so far.

The Liao Soldier shakes a stun and fires on the Davion Soldier, hitting for modest damage.

The Davion soldier shakes his own stun and tosses an unprepared grenade into the pile of Capellans atop the hill. (This grenade will detonate later at the end of the turn!)

The Liao Heavy Weapons walks forward and shoots off a burst at the Davion Flamer hitting once and missing once.

The Davion Flamer (still avoiding stun effects via Pain Resistance) walks forward and spews a line of fire that catches two Liao in the area of effect.  The Squad Leader begins to bleed and both are stunned.

The Davion Heavy Weapons attacks his counterpart causing a stun.  The Davion drops prone after his action to remain hidden behind cover.

The Liao Sniper walks into base contact with the objective and fires twice on the Davion Squad Leader for the kill.

The Davion Sniper remains behind cover and puts one bullet into the Liao Heavy Weapons for a kill and another at the Soldier who makes a difficult KO roll.

The previously thrown grenade now detonates and kills two Capellans.  The Liao Sniper successfully downloads the data package and has at least a chance to make a run for it if he can roll a high enough initiative!

Turn 4

The Liao Sniper rolls a 4…

The entire Davion team will get to act before the Liao Sniper and they make short work of the matter.

The Davion Heavy Weapons moves up and fires full auto at the lone Sniper causing a stun, bleed, and knockdown.  A second volley from the Federated Barrett finishes the game.

More Time on the Learning Curve

To be honest I did not anticipate the “run up the hill with guns blazing” strategy when I came up with this game.  Even with dealing with new players and teaching them the system, the four turns it took to decide the game seemed short.  I have a few ideas that would make the game better and they boil down to two key concepts.

Movement is Too Fast

I’ve had a hunch about this for a while and this game helped to prove it.  When you can run so far in game, the risk of long range (or medium range!) fire is too low.  I’ve come up with some calculations which I may share in a later post on the matter.  Bringing down movement rates will do a lot to re-balance in favor of more shooty game play (by shooty, I mean overt use of suppression fire and overwatch to contain opponents).

Rolls are Too Low

Ok, I get it, one force ran over the hill and charged into darn near short range with everything.  With no cover and modest range, they should have been low rolls, but I still think they are too low.  Even if I added in medium range and medium cover, the rolls would have been more than manageable for each player given the skill levels involved.  This works in an RPG setting where every character is indeed a hero.  I believe the translation into a BattleTroops style skirmish game deserves a tougher difficulty curve to reward good strategy and tactics.

All told, each player still had a good time and the setting and feel is second to none.  A Time of War is not without it’s flaws but at the end of the day it is the setting of choice for man-to-man combat in the 31st century.  No Mech?  No problem.  Get out your man portable machine guns, blazers and needlers and get your game on!

Posted under After Action Report
Apr-22-2011

Wolves in Exile for a Friend

Clan Wolf in Exile

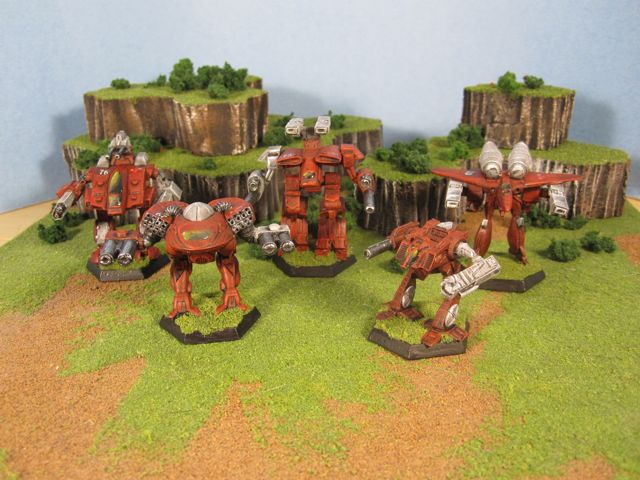
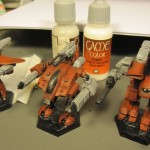
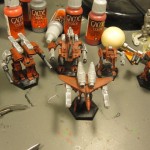
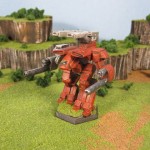
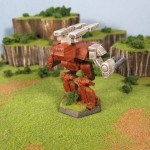
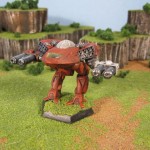
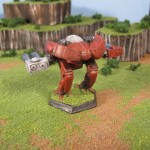
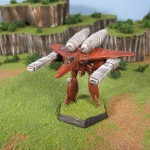
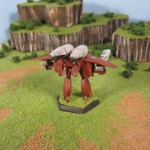
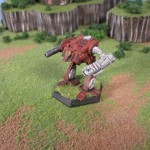
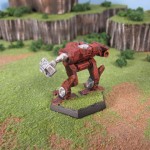
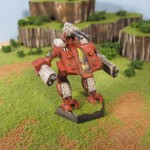
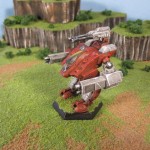
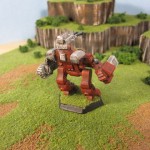
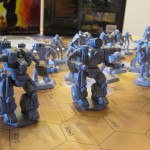
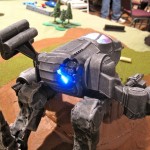
After a good long wait, I finally got around to finishing up this fantastically converted star of ‘Mechs.  These were sent to me by gamer and friend HassWerks.

The paint scheme is a carbon copy of an earlier Wolf in Exile ‘Mech.  The only major difference in the paint scheme is a different cockpit jeweling color.  In lieu of the faux reflection I did last time, I opted for a yellowish-brown mix that I thought would go well with the red.

Honestly, it is just something different and less striking than blues and reds which are my usual favorites.  It’s always good to experiment with new colors.  Yellow can be tricky, which makes it an ideal opportunity to practice.

Just to recap, here are the details on the paint palate.

The base for the red is Dark Fleshtone.  The highlights involve increasing amounts of Gory Red and Bloody Red mixed into the Dark Fleshtone.  The Grey is a simple Cold Grey to Stonewall Grey to White palate.  Gun barrels are Gun Metal with Silver highlights.  The base is a simple green flock job.

In Progress

Final Shots

Posted under Minis
Apr-11-2011

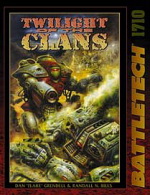
Twilight of the Clans, The Great Refusal

This is a series of battles played at Cold Wars 2011 held in Lancaster Pa.  The Great Refusal was the culmination of the invasion of the Clan homeworlds under the aegis of the reborn Star League.  Led by Victor Steiner-Davion, the combined armies of the Inner Sphere launched a Trial of Refusal to put an end to the Clan invasion once and for all.

The Great Refusal was a collection of eight battles pitting the best of the Inner Sphere against the might of the Clans.  The side with the most victories would win the Refusal.

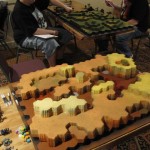
At the convention, we had five of our oversized 3D maps for players to battle on.  Players could come and go as they pleased and participate in as many battles as they wanted.  All told, we have five full battles completed, each one was a fast paced battle to the bitter end.  Did the Inner Sphere prevail or were the Clans able to defy history?

Draconis Combine vs Clan Blood Spirit

The Combine started well and managed to gain a slight advantage by delivering damage early.  The No-Dachi faced off against the Blood Kite while the Daishi (DC) took on the Battle Cobra.  As the fight dragged on the Combine continued to push and managed to knock out the Blood Kite’s arms.  Without weapons, the Blood Kite was forced to withdraw in shame.  Meanwhile the Combine Daishi was having a turn for the worse in luck and was waning as the Battle Cobra began making solid hits with it’s ER PPCs.  Once inside the internal structure of the Daishi the Clan player rolled a miraculous string of critical hits.  The Daishi ended the turn with 9 points of internal damage but 5 center torso critical hits, taking out the engine and gyro in one fell swoop.

The Battle Cobra turned to the No-Daichi.  The Battle Cobra was showing the wear of battle.  It had lost it’s entire left side while the No-Daichi damage was more spread around.  First turn into the new duel the Battle Cobra head caps his opponent with it’s one remaining ER PPC.

The Clans claim first blood.

Free Rasalhague Republic vs Clan Hells Horses

The FRR attempted to keep their distance from the potent Gnome Battle Armor and  the close-in specialist Gargoyle C.  This allowed the Clan force to take up superior positions in the middle of the battle, taking advantage of the only available cover.  The Spartan and Flashman fought the good fight and killed two of the gnomes and severely damaged the rest.

Unfortunately it was only a matter of time before the Clans could close in and bring their superior knife fighting weapons to bear.  The Flashman was brutalized before succumbing to side torso destruction.  Now two on one, the Spartan could not last against the heavier Clan weapons.  In the end, a through armor critical hit took out three engine locations spelling the end for the Spartan and the Inner Sphere’s chances in this match.

St. Ives Compact vs Clan Wolf

This was the longest battle of the bunch and went back and forth as the two players fought skillfully and energetically for their side.

The match starts and the St. Ives Ryoken faces off against the Gargoyle while the Pillager takes on the Timber Wolf.  The St.Ives Ryoken piloted by none other than Kai Allard-Liao wastes no time to close the distance to bring his UAC20 into the action.  The Pillager attempts to keep some distance from the Timber Wolf to take advantage of his Gauss Rifle.

Kai Allard-Liao trades point blank shots with the Gargoyle and in a fast sequence of turns finds his opponent legged but suffered the loss of his UAC20 in the process.  The two MechWarriors would not yield to each other and continued to pour weapons fire into each other.  The Gargoyle is forced to prop to fire but finds luck on his side.  A stream of laser and PPC bursts find soft armor and blast through Kai’s center torso destroying the ‘Mech.

Meanwhile, the Pillager and Timber Wolf are stalking each other at medium to long range.  The Pillager had a horrible time hitting anything with it’s Gauss rifle despite decent to-hit numbers.  The Timber Wolf savaged the Pillager’s armor, pot marking it with gaping holes.  A few heat sinks, an arm actuator, and a single engine hit begin to whittle away at the St. Ive assault Mech.

And then the Gauss rifle found home and crushed the Timber Wolf’s cockpit into scrap.

The Pillager is now at long range against the crippled but still dangerous Gargoyle.  Over a series of turns, the two traded long range weapons fire eating away at each others battered and broken frames.  The Pillager has one leg ripped apart and the last few turns are spent with each ‘Mech propping up to shoot.  In the bitter end the last round of weapons fire from the Pillager cored out the Gargoyle giving the win to the Inner Sphere.  The Pillager had only 28 armor points total remaining out of a starting 307.

Draconis Combine vs Clan Blood Spirit (a repeat due to player request!)

This game began much like the first with the Combine coming out strong but fading fast.  The crit seeking ability of the Blood Kite once again proved vital to the Clan force.  The No-Daichi ended up legged and broken on the ground while the Battle Cobra succumbed to arm destruction (no weapons) but not before head capping the Combine Daishi.

The final rounds of the contest involved the battered Blood Kite tearing apart the internal structure of the No-Daichi for the eventual win.

Capellan Confederation vs Clan Fire Mandrill

This match began with the Liao Thunder going up against the Fire Mandrill Warhawk A while the Emperor took on the Gargoyle C.  The Thunder rushed the Warhawk with hopes of bringing it’s AC20 into play.  Despite some early solid hits, the Thunder succumbed quickly to the advanced targeting computer in the Clan Warhawk which gutted the center torso and scored three quick engine hits.

The Emperor put up a better fight against the Gargoyle and managed to trash almost the entire front facing armor.  All three torso locations were open and a few lucky shots got inside and damaged the gyro and engine but not enough for the kill.  The Emperor in turn was decimated by a spread of weapons fire which blew off one arm and critically hit all of it’s own front torso locations.  After an impressive barrage from the Clan Gargoyle, two engine hits in the center torso followed by a single engine hit in a side torso spelled the end of the Inner Sphere ‘Mech.

Battles From the Past

The ScrapYard has fought several of these battles in the past.  You may recognize the terrain and miniatures from older after action reports.  here are some links to previous battles and the results.

The Final Score

After nine total games, the Inner Sphere was only able to pull out three victories.  In a stark contrast to the canon results, the Clans dominated the warriors of the Inner Sphere.  I had a lot of fun watching so many different people play these games and experience the fast paced action.  These are quick battles on average and there are still a few of the battles that we have yet to try. 

Let me know if you have had any experience with these battles from the Twilight of the Clans sourcebook.  I’d love to add your results to the pile and see if the Inner Sphere could do any better given a larger sample size!

Posted under After Action Report
Apr-2-2011

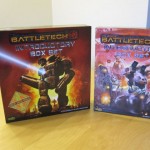
25th Anniversary BattleTech Introductory Box Set
It’s finally here and it is fabulous.

Reviews

The Maps Are Awesome

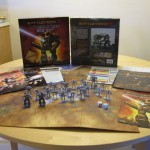
The box set includes two double sided maps made from thick game board.  They’re really good looking and feel sturdy and high quality.  They gave me a little trouble lying flat right out of the box but I think a little use will help them stretch out a bit.

This is a huge improvement from the thin paper maps of old.  They are vastly better than any other map done for BattleTech which makes a great case for the Hex-Pack series.  If there ever was a good reason to update your maps, you have it.  Pick up the box set for four of the most ubiquitous fighting environments in the game.  Included is the Standard BattleTech map, Open Terrain, Lake Area, and a dense Urban map.

Glossy Paper Everywhere

The rulebook and the universe book are redone in a high quality glossy paper.  They look great and fit with everything else in the box set.  The entire package screams quality on par with any other manufacturer in the business today.


Miniatures

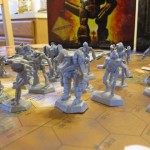
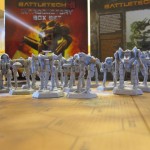
The usual suspects from the original box set are all included and are done in a slightly harder plastic.  I found it a little tougher to work with an exacto knife but I think it would end up improving the long term stability of any paint job.

The resin Loki and Thor are a great addition and just add to the set’s phenomenal value.

Get Yours

Whether you are a new comer or a grizzled veteran, you will find something to enjoy in this box set.  The miniatures alone were a great reason to buy the old box set.  The addition of the two high quality Clan OmniMechs and the new board game quality maps make it a must buy.

Posted under News