Kicking the Tires
A Time of War is here in Beta form and for $10 it seems silly to skip on this opportunity. To be honest I am not much of an RPG fan. What I am interested in is an infantry level skirmish game set in the oh so familiar 31st century I love.
Besides the Gamemastering Guide and certain skills and traits, almost everything appears to work well in an infantry skirmish game. I wanted to kick the tires to see how combat flowed and if there really was any substance behind that thick RPG exterior. I gathered up my miniatures (not even painted yet! I’m so embarrassed!) and set the stage for a quick fight. No objectives, no missions, just a kill or be killed fight to the finish.
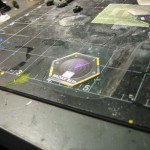
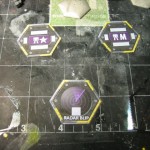
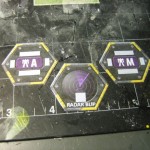
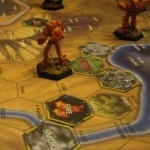
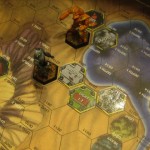
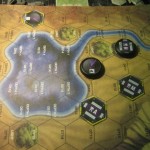
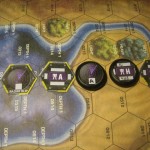
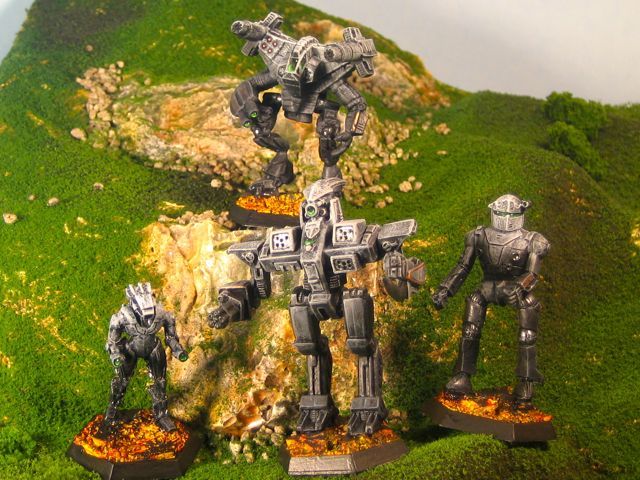
Our battle takes place in a familiar Factory. Not much cover to be had but plenty of area to move around. The scale is 5m to a hex. All characters used are based on the sample characters provided in either the Quick Start Rules or the full Beta rules. All miniatures are from Reaper Miniatures’ Chronoscope.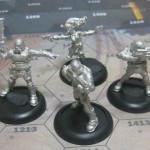
The Soldiers
- Veteran Soldier (Assault Rifle)
- Two Soldiers (Assault Rifles)
- Gunslinger (Ambidextrous dual wielding Magnums)
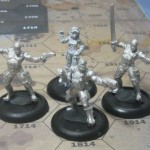
The Scouts
- Veteran Scout (Ambidextrous dual wielding SMGs)
- Two Scouts (Laser Pistols and Vibro-Swords)
- Combat Tech (Shotgun)
Tactical Action Resolution is in effect. Damage does not take effect until the end of the turn so no killing characters before they get a chance to act.
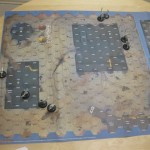 Turn 1 – Soldiers Win Initiative
Nothing but movement for both sides. Important to note, each unit may only use ONE movement action a turn and must declare that mode before moving. All troops are moving on a run so far.
Turn 2 – Soldiers Win Initiative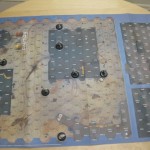
The Scout Veteran kicks it into high gear and sprints to the ramp in the large building. Meanwhile the Soldier Veteran reaches the elevator of his own building on a simple run and pushes the button to move up one level.
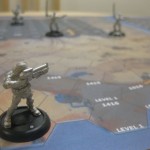 After a Scout moves to the near edge of the building, we have our first combat as Soldier 1 runs to the right enough to cut the corner and bring a shot to bear.
Target Number is (TN) 6 and the roll modifiers are: +1 Small Arms Skill, -2 Running, -1 Target Movement, -2 Medium Range. The die roll is 10. 10 – 4 = 6 is a HIT!
The 4AP/4B shot is not impeded by the Infiltration Suit’s 4 Ballistic Armor rating so the Scout takes the full 4 damage, 1 fatigue, and a stun.
Scout 1 sprints to the door to support his wounded comrade. Sensing an easy mark, the other Soldier moves against the Combat Tech while the Gunslinger moves towards the two Scouts.
Turn 3 – Scouts Win Initiative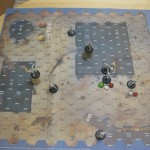
NOTE: Since each activation is resolved individually, when an attack is made before an opposing unit has activated yet, use the prior turn’s movement mode for the target modifier.
Forced to act first, the Gunslinger runs to the nearest Scout to unload both Magnums at point blank range.
TN 6. +2 Skill, -2 Running, -1 Target Movement, -1 Magnum (for a total roll modifier of -2). Rolls are 7 and 11. One hit and one miss.
The magnum deals 5 damage and once again the armor does nothing. Toughness reduces the damage taken by 1.
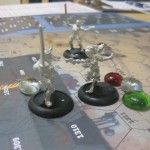 The Scout is now pissed and unleashes two Vibro-Sword attacks with his two actions. This is now an opposed melee roll rather than a simple skill check.
Scout TN 6; +1 Skill, +1 Dex Link, -1 Target Movement. Rolls are 4 and 11.
Gunslinger TN 6; -2 Running. Rolls are 7 and 9.
In the first combat the Gunslinger gets lucky and scores a counter-strike of 1 fatigue damage. In the second the Scout solidly defeats the Gunslinger with a total MoS (Margin of Success) of 2 (5 – 3). The Sword easily tears through the Gunslinger’s flak vest and deals 6 damage! Sword damage + STR/4 + MoS/4 each rounded up and then added.
The Gunslinger needs to make a BOD (body) check to avoid bleeding. Roll is 7 + 6 BOD = 13. One short of the required 14. The Gunslinger is now bleeding from her wounds.
Now that you get the drift of the rules, I’m going to speed up the game play and let the bullets and swords fly fast and furious!
Soldier 1 is content to fire away at his prior target who has not activated yet. One shot hits solidly, doing 5 damage and starts bleeding. The wounded Scout now activates and shakes off his stun, walks forward and delivers a short range shot to the GunSlinger. The laser pistol just misses thanks to prior injuries.
Soldier 2 runs for a shot and fires at the mortally wounded Scout 2 but misses at medium range.
The Combat Tech finally moves out for a shot and unloads a shotgun shell at extreme range towards Soldier 2 and poorly misses.
The Soldier Veteran walks out onto the cat walk and takes two shots at the Combat Tech which surprisingly miss.
The Scout Veteran moves last and walks up the ramp to see the Soldier Veteran across the catwalk. Both actions are used to unleash three round bursts from his dual SMGs. Unfortunately at long range, all of the shots miss the mark but no jams result.
At the end of the turn wounds bleed and the Gunslinger fails her consciousness check and slumps to the ground in a heap.
Turn 4 – Soldiers Win Initiative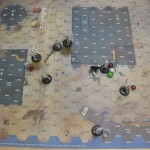
The Veteran Soldier walks to short range and unloads twice on the opposing leader hitting once for 4 damage. Scout 1 shakes his stun, walks and fires at medium range dealing 3 damage to Soldier 2. Soldier 1 and 2 both fire on Scout 1 remaining stationary to do so. Three of four shots hit delivering a staggering 12 damage dropping the Scout dead.
Scout 2 tries to make something out of nothing, shakes his stun, walks and takes a shot at Soldier 1. The shot hits solidly for four damage. The Combat Tech runs and pumps the shotgun but misses (Combat Techs are all Tech and no Combat!).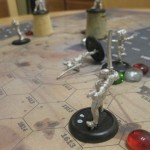
The Scout Veteran walks forward and opens up his SMGs again with four three shot bursts (don’t worry, each SMG has 50 rounds per clip). Two shots hit, but one is for double damage thanks to the burst mode. Once again lucky to avoid jams. The Veteran Soldier badly fails his bleed check.
The Gunslinger wakes up with a solid consciousness check. The Soldier Vet fails his own while the opposing Scout leader passes with flying colors.
Turn 5 – Scouts win Initiative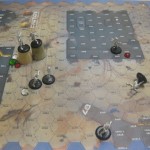
Soldier 2 puts Scout 2 out of his misery with a well placed rifle shot while the Scout can only bleed in response. The Gunslinger shakes her stun and walks towards cover to tend her bleeding. Unable to help his commander, Soldier 2 backs up and fires on the approaching “Combat” Tech but misses twice. The Combat Tech continues her bull rush and finally closes to short range to deliver a shotgun blast that once again misses.
With an unconscious opponent in front on him, the Scout Veteran walks forward and fires down onto the Soldier below. Both shots hit and grievously injure the Soldier for 9 damage.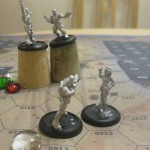
During the end phase the Soldier Veteran wakes up staring at the Scout Veteran’s boots.
Turn 6 – Soldiers Win Initiative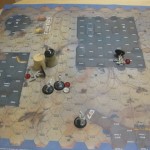
Soldier 2 has to act first and hits the Combat Tech for 3 damage with a point blank rifle shot. Her flak vest surprisingly saves her from more serious damage. The shotgun roars again and this time… also misses. Soldier 1 fires on the hapless Tech and hits once for 3 damage and starts the bleeding.
With only 1 point of life left, the Gunslinger tries to stem the tide of blood from her numerous wounds but fails her MedTech roll.
The Soldier Vet stands up and fires point blank at his opponent but misses due to extreme weakness from his wounds. The Scout Veteran uses single shots to deal the killing blow.
Turn 7 – Scouts Win Initiative
Faced with a killer range, the Veteran Scout opens up with double bursts while stationary on the closest Soldier. One of his SMGs jams on the first action’s shooting and only one of the following bursts hit for a marginal 3 damage. That would however be enough for the kill.
In return, the Soldier fires up at the catwalk and hits with one shot which starts a bleeder. The Tech shakes her stun and runs for cover. The remaining Soldier walks forward but can’t get to optimum range. Still, one shot hits and deals the killing blow to the Veteran Scout on the Catwalk.
Faced with a showdown between a bleeding Combat Tech and a slightly wounded Soldier, we call the game.
Notes from the Game
When using Tactical Action Resolution, mark damage during the turn in half filled circles. After the turn is complete, make your consciousness rolls and then fill them in fully. That way you will have an easier time remembering what your current injury modifier is.
So what do you think? RPG be damned, what about some squad level infantry battles to mix in when you get tired of 10m tall BattleMechs? I think there is definite potential. Let me know what you think.
Posted under After Action Report